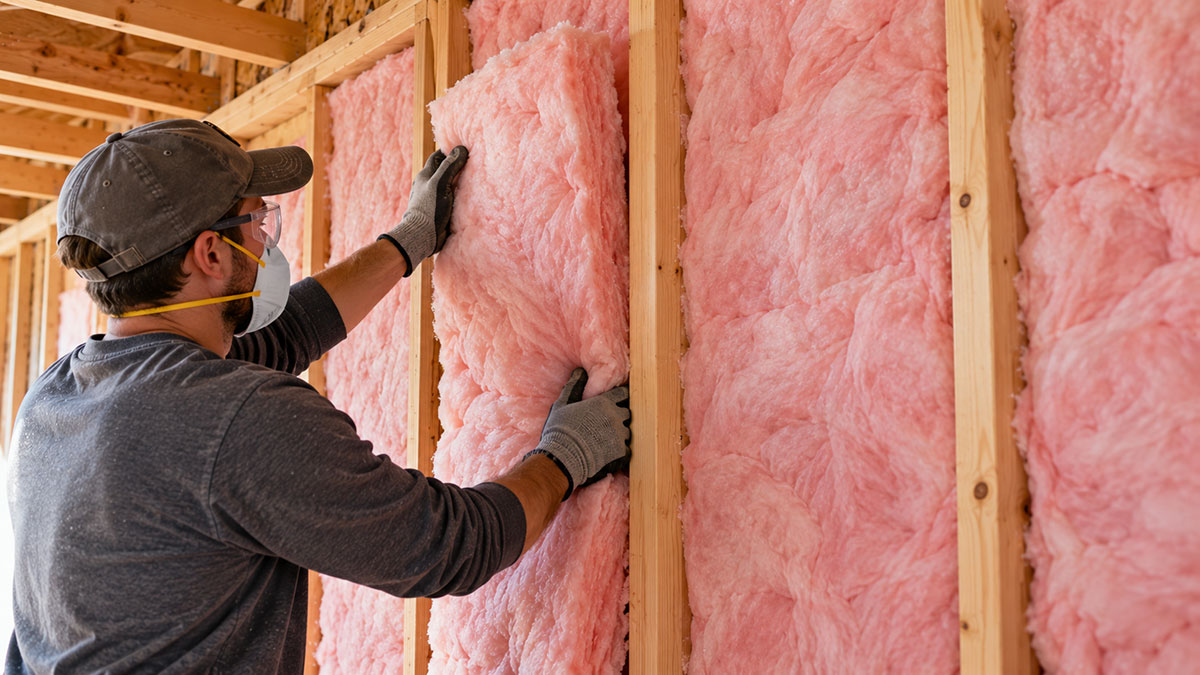
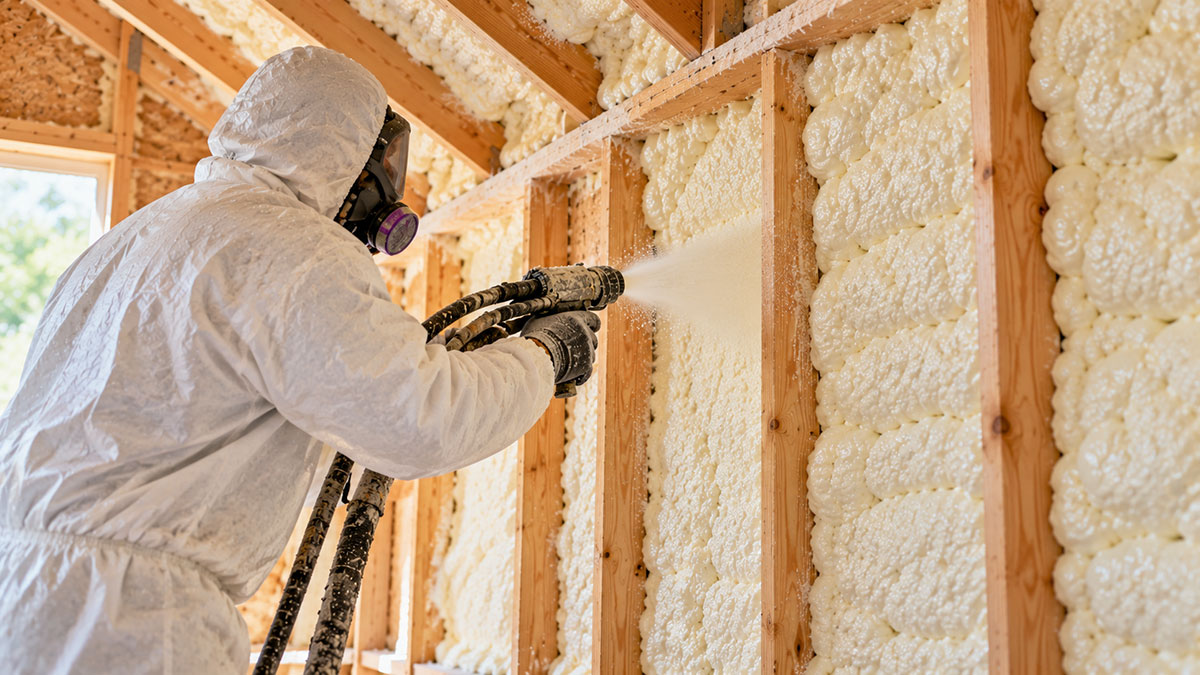
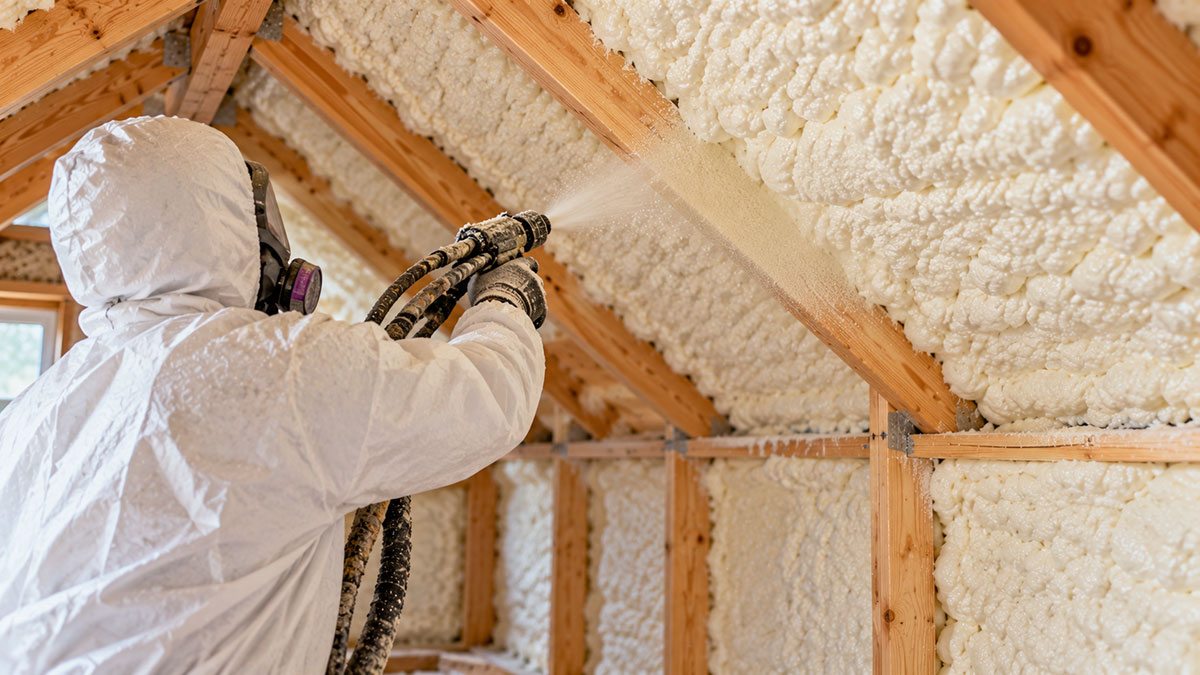
Air leaks in a house come down to pressure. Warm air rises and wind pushes on the walls, and any exhaust fan running inside pulls more through whatever gaps the shell has.
Closing those gaps is what air sealing does. It’s a building envelope technique that stops air movement, where insulation only slows heat transfer.
Home performance contractors and weatherization crews do most of the work, along with energy auditors. It happens in attics and foundations and around wall penetrations, and the result gets measured with a blower door test rather than judged by eye.
Codes now put hard numbers on it. The 2021 International Energy Conservation Code caps new-home leakage at 3 ACH50 in climate zones 3 through 8. The 2024 edition tightens that further in colder zones, down to 2.5 ACH50 in zones 6 through 8, while zones 3 through 5 stay at 3 ACH50 (International Code Council, 2021, 2024).
What Is Air Sealing
Most houses leak air in places nobody intended, and closing those places is the whole job.
The work targets airflow, not heat. That one distinction is what separates it from insulation.
It sits inside the wider field of home performance and weatherization, next to duct sealing and moisture control. The goal is a continuous air barrier around the living space, not more material mass in the walls.
What Counts as an Air Barrier
Any material or assembly counts if it runs continuously enough across the shell to block bulk air movement. Drywall works when the edges are taped, and house wrap works when every seam is taped. Spray foam, open cell or closed cell, does the job too, and so does rigid foam board with sealed joints.
A vapor barrier is a different thing. It manages moisture diffusion through a wall rather than bulk air flow.
Air Sealing vs Insulation: What Is the Difference

The two get lumped together, though insulation slows heat transfer while air sealing stops air movement, and they’re measured separately.
R-value is the rating for insulation, and it’s tied to the material’s thickness and density. Airtightness is rated in air changes per hour, or in cubic feet per minute at a fixed test pressure, and those figures come from a separate test entirely.
A house can look great on R-value and still leak badly. Insulation sitting in a leaky wall loses much of its rated performance, because moving air carries heat around the material instead of through it.
It makes more sense once you know how insulation works. Fiberglass and cellulose (rock wool too) trap still air in tiny pockets, and the still air is what actually resists heat flow.
| Attribute | Air Sealing | Insulation | Air Barrier |
|---|---|---|---|
| Function | Blocks air movement | Slows heat transfer | Physical layer that performs the seal |
| What it stops | Drafts, infiltration | Conductive heat loss | Bulk airflow specifically |
| Material examples | Caulk, spray foam, tape | Fiberglass, cellulose, rock wool | Drywall, taped house wrap, rigid foam |
| When installed | Before insulation goes in | After the envelope is sealed | Built into the assembly itself |
Codes and rating systems treat the two as separate line items, not one combined score. A home’s HERS Index reflects both airtightness and insulation performance, but a rater still records ACH50 and R-values as distinct inputs.
How Air Sealing Works
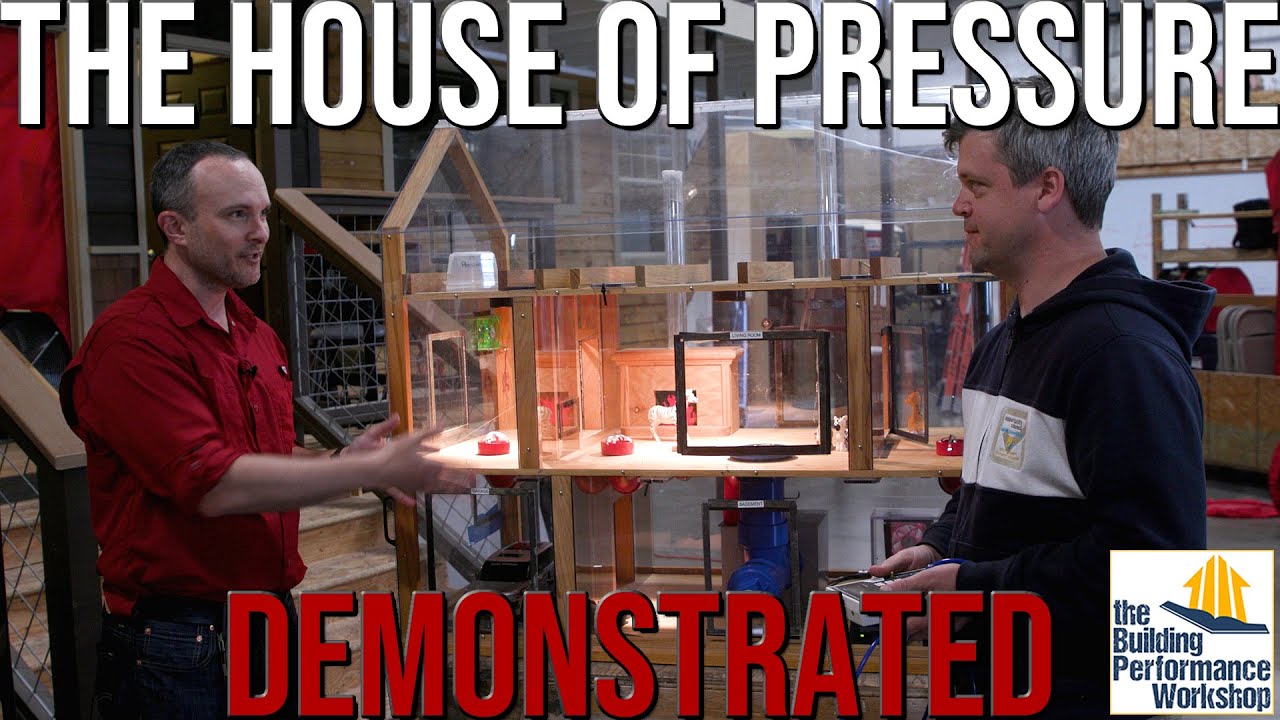
Warm air rises and escapes through gaps high in the structure, which pulls cold air in through gaps down low. That’s the stack effect.
Wind comes at it from the side, pushing air in on the windward wall and pulling it out the leeward one.
Then there’s mechanical pressure. Exhaust fans, dryers, and unbalanced ductwork change the pressure inside a home, and air gets forced through whatever gaps exist.
A continuous air barrier interrupts all of it at once, so there’s no need to fight each source separately. Sealing closes the specific gaps these pressures use, wall to attic, floor to wall, penetration by penetration.
Most of a home’s leakage doesn’t come from one big hole. It comes from hundreds of small gaps working together at framing joints, top plates, and penetrations for wiring and plumbing.
Where Air Leaks Occur in a House
Leaks cluster in a handful of predictable spots in almost every house, and most of them sit at the very top or the very bottom of the structure.
| Zone | Typical Leak Points | Common Fix |
|---|---|---|
| Attic and roof | Hatch, recessed lights, wiring chases | Weatherstrip hatch, seal penetrations with caulk or foam |
| Foundation | Sill plate, rim joist, crawl space vents | Spray foam or rigid foam board at rim joist bays |
| Walls and openings | Window and door frames, exterior outlets, vents | Weatherstripping, caulk, foam gaskets |
Attic and Roof Penetrations
The attic floor is usually the single biggest leakage zone in a house, since the stack effect keeps pulling warm air upward around the clock. I’d start here on any job.
The access hatch is one culprit. Recessed lighting fixtures without an airtight housing are another, and then there are the plumbing and wiring chases running up from the lower floors.
Dirty, compressed attic insulation is often the visible sign of one of these gaps, since escaping air carries dust that darkens the material around it.
Foundation and Rim Joist
The sill plate and rim joist sit directly on top of the foundation wall, and they’re rarely airtight from the original construction. Gaps here connect the living space almost directly to a crawl space or basement, so cold, damp air moves straight into the floor system.
Check the joint where the sill plate meets the foundation, the rim joist bays between floor framing, and any crawl space vents and access doors.
Windows Doors and Wall Penetrations
Windows and doors get blamed first, but they’re rarely the largest source of leakage in a typical home.
The gaps that matter sit between the frame and the rough opening, not around the sash itself. Exterior electrical outlets and switches are boxes cut into exterior walls with no backing seal, and dryer vents and exhaust fan penetrations are round openings cut through siding and sheathing.
Weatherstripping is for the parts that move, and anything static gets caulk or foam.
How Air Leakage Is Measured
Air leakage is measured with a blower door test, not estimated by eye.
A technician mounts a calibrated fan in an exterior doorway and depressurizes the house to 50 pascals, a pressure difference used consistently across residential testing in the U.S. Most equipment on the market today, including the Minneapolis Blower Door made by The Energy Conservatory, uses this same basic setup of a fan, a frame, and a manometer to read pressure.
In the U.S., the procedure follows ASTM E779, the standard method for measuring building air leakage by fan pressurization.
The result comes back as ACH50, the total air changes per hour relative to the home’s volume at the 50 pascal test pressure. It can also come back as CFM50, which is the airflow rate needed to hold that pressure difference, sometimes normalized per square foot of envelope area.
A thermal imaging camera finds the individual leaks that the blower door only confirms in aggregate, reading surface temperature differences on walls and ceilings while the house sits depressurized. A smoke pencil does a rougher version of the same job, releasing a thin stream of smoke that bends visibly at an active leak.
Most contractors test twice, once before sealing to set a baseline and once after to confirm the improvement actually held. So what number is a house supposed to hit?
Airtightness Standards and Targets
The number that applies to a specific house depends on which code or certification it’s built to.
The 2021 IECC allows a maximum of 5 ACH50 in climate zones 1 and 2 and 3 ACH50 in zones 3 through 8 (International Code Council, 2021). The 2024 edition sets 4 ACH50 for zones 1 and 2, leaves zones 3 through 5 at 3 ACH50 as in the 2021 code, and drops zones 6 through 8 to 2.5 ACH50. That makes it tighter in cold climates, not a single nationwide number (International Code Council, 2024).
Passive House Institute certification asks for 0.6 ACH50, roughly five times tighter than the 2021 IECC allows. DOE Zero Energy Ready Home caps attached dwellings at 3.0 ACH50 across all climate zones (U.S. Department of Energy, October 2024).
Those numbers keep tightening with each code cycle.
State codes can also go further than the IECC model code does. California’s Title 24 has required air sealing of the building envelope in every new home since 1982, independent of whichever IECC cycle the rest of the country is working from (California Energy Commission, 2020).
Rating programs fold airtightness into a single score alongside insulation and equipment efficiency, so a leaky shell pulls the whole number down even when everything else in the house performs well.
Materials Used for Air Sealing
Caulk and Sealants
Caulk handles the small, static gaps, the kind that don’t move, like trim joints, baseboards, and a single crack around a pipe.
It works well on gaps under about a quarter inch and on interior trim. It falls short on anything that expands and contracts with temperature, or anything wider than the tube is rated for.
Spray Foam
Spray foam expands to fill irregular gaps that caulk can’t reach, around plumbing stacks, wiring holes, and framing gaps of uneven width. Both two component and one component spray foam insulation get used for air sealing, and contractors pick a formulation based on the size of the gap.
It fills odd shapes, cures rigid, and does double duty as an air seal and a thermal seal in one step. It costs more per gap than caulk, though, and it needs ventilation while you’re applying it. Overfill a gap and it can bow thin framing.
Canned one component foam, sold under brands like Great Stuff, covers most DIY scale gaps without renting a rig. It’s what I’d reach for first on a small job.
Weatherstripping and Tape
- Compression seals for door and window sashes
- V-strip or tension seals for double hung windows
- Specialty air sealing tape for seams in sheathing or house wrap
These suit assemblies that move, like operable windows, exterior doors, and attic hatches opened more than once a year.
The downside shows up over time. Compression seals lose their spring and need replacing every few years, especially on doors used daily.
House Wrap and Membranes
House wrap and membrane systems create a continuous air barrier across an entire wall or roof plane, not just at individual gaps. DuPont’s Tyvek is the best known brand in this category, taped at every seam to keep the plane continuous.
One pass covers a large area, and it layers onto the weather resistive barrier already required by most codes. But it’s only as good as the tape job at the seams. A wrap with unsealed laps performs barely better than no wrap at all.
Benefits of Air Sealing a Home
The utility bill is the obvious place to look. Less conditioned air escapes, so the furnace and air conditioner run fewer hours to hold the same temperature.
EPA estimates homeowners save an average of 15% on heating and cooling costs, or about 11% on total energy costs, by air sealing a home and adding insulation together (ENERGY STAR).
Drafts and cold spots go away too. Closing the gaps that feed the stack effect stops cold air from pooling near floors and exterior walls in winter.
Air quality gets easier to control as well. Once leakage stops being random, mechanical ventilation becomes the one path fresh air takes, and that path can be filtered. Moisture belongs in the same conversation: warm, moist indoor air stops migrating into wall cavities and condensing on cold surfaces, which is a common cause of hidden mold.
The benefits of home insulation get bigger when the shell is sealed first, since added insulation then performs closer to its rated value.
Neither does much alone. Together they’re the two most cost-effective upgrades in most existing homes.
How Much Does Air Sealing Cost
It depends on how the job is done and how leaky the house is to start.
| Cost Driver | DIY | Professional |
|---|---|---|
| Materials | Caulk, foam, weatherstrip kits | Same materials, bulk pricing |
| Diagnosis | Visual inspection only | Blower door test included |
| Labor | Homeowner’s time | Trained technician, insured |
Blower door testing is usually priced as its own line item, separate from the sealing work itself. Total cost scales with home size, age, and the number of leak points a technician finds during the diagnostic pass.
The DOE Weatherization Assistance Program gives a useful benchmark. It runs on a base average investment of $6,500 per qualifying home under 10 CFR 440.18, adjusted upward each year for inflation, and that came to $8,497 per home for Program Year 2024. The money covers air sealing alongside insulation and other measures (U.S. Department of Energy, 10 CFR 440.18; Weatherization Program Notice 24-7, 2025).
Households served by the program save $372 or more a year on average, according to a national evaluation of WAP (U.S. Department of Energy).
Homeowners who don’t qualify under WAP’s income limits can still look at utility and state weatherization rebates, which can offset part of the cost.
Ventilation Requirements After Air Sealing
A tighter envelope holds conditioned air in, and it holds pollutants in too if nothing replaces the air the sealing stopped. Older homes leaked enough that fresh air showed up without anyone planning for it.
ASHRAE 62.2-2019 sets the whole-house mechanical ventilation rate at 0.03 CFM per square foot of conditioned floor area plus 7.5 CFM per occupant, with occupancy assumed at bedrooms plus one. A 2,000 square foot, three-bedroom home works out to roughly 90 CFM of continuous fresh air under that formula.
A balanced system such as an HRV or ERV can meet the requirement, and so can a simple exhaust fan on a timer.
Combustion Safety and Backdrafting Risk
When a tightened house ends up under negative pressure, it can overpower a chimney or flue’s natural draft and pull combustion gases back indoors instead of venting them outside. That’s backdrafting.
An average of 55 deaths a year between 2007 and 2009 were tied to carbon monoxide from home heating systems, the large majority from gas-fueled equipment, according to a Consumer Product Safety Commission report (Hnatov, 2012).
Naturally drafted furnaces, water heaters, and fireplaces are the appliances most at risk, since they rely on passive airflow rather than sealed combustion or power venting.
- Test combustion appliances with a draft gauge before and after major sealing work
- Put a carbon monoxide alarm on every level of the house
- When a furnace or water heater is due for replacement, look at sealed combustion or power vented equipment
This is why combustion safety testing belongs in the same visit as the blower door test, not as an afterthought.
How to Air Seal a House Step by Step
The order matters as much as the materials.
Most professional jobs start with a home energy audit to set a baseline before anyone opens a tube of caulk.
- Establish a baseline reading with a blower door test
- Rank leaks by size and pressure, largest and highest-impact penetrations first
- Seal the attic plane and rim joist before touching smaller gaps elsewhere
- Move on to mid-priority gaps such as window and door frames, exterior outlets, and plumbing and wiring penetrations
- Install insulation after sealing, never before, so it sits against an already airtight layer
- Retest with a second blower door reading to confirm the ACH50 actually dropped
A BPI-certified Air Leakage Control Installer follows roughly this same sequence on paid jobs, which is one reason the certification matters when hiring out the work.
Skipping the retest is the most common mistake. Without it there’s no way to know whether the sealing held.
When Air Sealing Does Not Work
Sealing around an existing moisture problem, such as a wet crawl space or a leaking roof, traps humidity inside instead of letting it dry to the outside. In humid climates especially, sealing without a properly placed vapor barrier insulation layer can concentrate that moisture inside a wall cavity rather than remove it.
Tightening a home below roughly 5 ACH50 without a mechanical ventilation system in place lets indoor pollutants, moisture, and CO2 build up with nowhere to go.
Caulking visible gaps while leaving the attic plane or rim joist untouched rarely moves the ACH50 number much, because the biggest leaks were never addressed. And a home with an unresolved backdrafting risk shouldn’t be tightened further until the appliance or venting problem is fixed.
None of this makes air sealing a bad idea. It just means the moisture source and combustion safety need checking before the work starts, and ventilation needs a plan.
FAQ on What Is Air Sealing
What Is the Difference Between Air Sealing and Weatherproofing?
Weatherproofing covers the roofing, siding, flashing, and drainage that block bulk water. Air sealing closes gaps that let air move through the building envelope. Any air sealing job is weatherization work, but plenty of weatherization jobs never touch an air leak.
Does Air Sealing Really Save Energy?
Yes. EPA estimates 15% average savings on heating and cooling costs when air sealing pairs with insulation in an existing home. Older, draftier homes see the largest reduction, since there’s more leakage to close.
Is Air Sealing Worth the Cost?
For most existing homes, yes. Air sealing ranks among the most cost effective envelope upgrades available, often paying back through lower utility bills within a few years. Homes that qualify for weatherization assistance programs recover the investment faster through subsidized labor and materials.
What Tools Do You Need to Air Seal a House?
Most DIY jobs need a caulk gun, a can of spray foam, some weatherstripping, and foam gaskets for outlets. Professionals bring a blower door and a thermal imaging camera, and sometimes a smoke pencil, to locate leaks and confirm the fix.
Can You Air Seal a House Yourself or Do You Need a Professional?
Small gaps, trim joints, and attic penetrations you can reach are fine to tackle with caulk and foam. Rim joists, whole-house diagnostics, and anything near combustion appliances are better left to someone with blower door equipment and combustion safety training.
What Mistakes Should Be Avoided When Air Sealing?
Sealing the small, visible gaps while ignoring the attic plane and rim joist wastes effort on the leaks that matter least. Another common one is skipping the blower door test before and after, which leaves no way to confirm any improvement.
How Long Does Air Sealing Take?
A typical single-family home takes a professional crew one day to diagnose and seal, sometimes two if duct sealing or extensive rim joist work is included. DIY projects aimed at a handful of known leak points usually take a few hours.
What’s the Right Order for Air Sealing a Home?
Envelope first, ventilation second, combustion safety last. Each step changes what the next one has to handle, so the order holds for a whole project.
That means the attic, rim joist, and wall penetrations get closed and retested first. Ventilation is then sized against the new ACH50 reading, and the final check is draft and carbon monoxide on every fuel burning appliance.
Reversing that order wastes fan capacity, because ventilation ends up sized around air that was still going to leak out.
It does cost time. A project run this way takes two visits, one for diagnosis and one for verification, but it keeps a tightened building envelope from turning into a moisture or combustion problem.
Homes moving past air sealing into a full retrofit typically turn to home insulation next, since a sealed shell is what lets insulation perform at its rated value.