There’s no single number for this job. What you pay comes down to how big the home is, what goes back in, and whether you’re the one crawling under there.
Underbelly work is its own category, separate from anything you’d do in a wall or an attic. It happens below the steel chassis, on your back, in the dirt. Failed floor insulation comes out along with the torn fabric that was holding it up, and new material goes back in against the joists.
Single-wides, double-wides, triple-wides all get the same treatment. Contractors price it against the home’s climate zone rather than a flat rate per unit. On a standard 1,000 square foot single-wide, materials run $1,526 if you do it yourself, or $2,500 to $4,000 hired out, according to DIY Dollar Sense (2026).
What Is Mobile Home Underbelly Insulation?

Under the floor joists, pressed against the steel frame by a fabric layer, sits the insulation keeping your floor from going cold in January. It’s exposed to open air. Nothing covers it the way drywall covers the fiberglass or foam in a standard home insulation system, and every bit of the repair happens from below the chassis. There’s no interior access at all.
The materials aren’t exotic.
Underbelly work draws from the same broad types of insulation materials used everywhere else in the house, just packaged to survive ground moisture and temperature swings. Fiberglass batt gets rolled between joists and held with netting or wire. Rigid foam board costs more per sheet but delivers higher R-value per inch and shrugs off water. Blown-in cellulose shows up less often, though it handles irregular cavities and gaps better than a batt ever will.
Wrapping the underside of all of it is a fabric layer called the bottom board, or belly wrap. That’s what keeps everything from sagging to the ground.
Clayton Homes, one of the largest manufactured home builders in the country, notes that the exact insulation type and thickness varies by factory and by which climate zone the home was destined for.
Homes on a pier and beam foundation sometimes get a real crawl space with standing room. Most single-wide and double-wide units don’t. Skirting plus this underbelly wrap is the entire barrier between your floor and the outdoors.
How Underbelly Insulation Affects Energy Performance
Floors leak. In a manufactured home that’s usually the single biggest heat loss zone, worse than anything you’d measure in a house sitting on a slab, and the underbelly is what controls it.
Once the belly wrap tears, outside air moves directly against the subfloor. Heating costs go up in winter, cooling costs go up in summer, and nobody touched the thermostat.
Of every insulation zone in a manufactured home, this one pays back fastest. Roughly 3 to 5 years on energy savings alone (DIY Dollar Sense, 2026).
The mechanism behind that is simple.
Insulation slows heat transfer, and how well it does that gets expressed through R-value. HUD’s manufactured housing code measures whole-envelope performance through a U-value instead of R-value alone, which is why two homes with totally different insulation combinations can both pass the same code.
Then there’s the steel. Chassis framing creates thermal bridging, moving heat around the insulation layer rather than through it. It’s one reason manufactured homes lose heat faster than a comparable stick-built house carrying the same nominal R-value.
R-Value Requirements by Climate Zone
The Department of Energy’s manufactured housing rule, codified at 10 CFR Part 460 and adapted from the 2021 IECC, sets the floor insulation minimum according to where the home will sit. Not how big it is.
Climate Zone 3, the coldest tier, permits a combination of R-21 batt insulation and R-14 blanket insulation to satisfy the floor requirement, per the current eCFR text.
- Zone 1 covers the warmest states, with the lowest floor R-value minimum
- Zone 2, moderate climates, lands in the middle
- Zone 3 takes in the coldest states plus high altitude, and the minimum is highest there
The zone map itself originates from HUD’s manufactured housing code, and the Manufactured Housing Institute republishes it throughout industry documentation.
One detail people skip: if the home was ever moved across state lines, replacement insulation should match the minimum for where it sits now, not the zone it was built for.
Signs Mobile Home Underbelly Insulation Needs Replacing
Insulation hanging below the bottom board, or dragging on the ground, means the whole run is finished. That’s not a patch job.
Bills usually tell you before your eyes do. Energy costs creeping up with no change in how you’re living in the house is often the first signal, well before anything looks wrong underneath.
The rest of it you find once you actually get down there and look.
- Insulation sagging or hanging below the belly wrap
- Rodent nests, droppings, or chew marks in the fabric
- Musty odor or visible mold near the subfloor
- Cold floors in winter despite a furnace that’s working fine
- Torn or missing skirting leaving the crawl space open to weather
Rodent damage deserves its own callout.
Once mice or rats nest in fiberglass batting, the insulation loses most of its thermal performance even in spots that still look intact from a few feet away.
If you’d rather not crawl under there yet, check two or three consecutive utility bills against the same months last year. Higher with no other explanation is enough to start.
Average Cost to Replace Mobile Home Underbelly Insulation
A full underbelly insulation replacement on a standard 1,000 square foot single-wide runs about $1,526 in materials for a DIY job, or $2,500 to $4,000 hired out to a contractor (DIY Dollar Sense, 2026).
That DIY total breaks down into a polyethylene belly wrap roll, R-19 fiberglass batts, a 6-mil vapor barrier, seam tape, and basic hand tools.
Material alone typically prices out between fifty cents and a dollar per square foot, which is the fastest way to sanity check any quote a contractor hands you.
- DIY materials, 1,000 sq ft single-wide: $1,526 (DIY Dollar Sense, 2026)
- Professional installation, same scope: $2,500 to $4,000 (DIY Dollar Sense, 2026)
- Energy payback period on the investment: 3 to 5 years (DIY Dollar Sense, 2026)
- Estimated DIY cost, 1,400 sq ft double-wide: roughly $2,455 to $2,565
RetroFoam of Michigan, a regional spray foam contractor, quotes full-home foam jobs well above this range, but their pricing bundles walls and ceiling insulation on top of the underbelly rather than the underbelly alone.
That gap matters when you’re comparing online quotes. A number that looks high is often pricing a much bigger job than the one you actually need.
Mobile Home Insulation Replacement Cost by Home Size
A single-wide costs less to reinsulate than a double-wide or triple-wide. Less square footage, fewer floor joists, fewer belly wrap seams to seal.
Labor time scales faster than material cost as the home gets bigger, since more square footage means more crawling and more fasteners, not just more insulation by volume.
| Home Size | Typical Square Footage | DIY Material Cost | Professional Installed Cost |
|---|---|---|---|
| Single-wide | 600 to 1,300 sq ft | $1,526 (1,000 sq ft benchmark) | $2,500 to $4,000 |
| Double-wide | 1,000 to 2,300 sq ft | roughly $2,455 to $2,565 | Scales similarly, no fixed published figure |
| Triple-wide or larger | 2,000+ sq ft | Not separately benchmarked | Not separately benchmarked |
The double-wide estimate comes from scaling the single-wide material total by roughly 1.4 times, then adding 15 to 20 percent for the marriage-line seam where the two halves join (DIY Dollar Sense, 2026).
Triple-wide homes don’t have a published benchmark the same way. Budget above the double-wide range and get an actual quote based on square footage instead of guessing from a size label.
Mobile Home Insulation Replacement Cost by Material
Material choice moves the price more than almost any other factor. Fiberglass batts anchor the low end, closed-cell spray foam the high end, and everything else falls somewhere between.
Each option trades upfront cost against moisture resistance, R-value per inch, and how well it survives a rodent problem.
| Material | Cost per Sq Ft (DIY) | R-Value | Best Suited For |
|---|---|---|---|
| Fiberglass batt | $0.30 to $1.00 | R-19 typical | Dry climates, budget jobs |
| Blown-in cellulose | Comparable to fiberglass, no fixed figure published | Varies by fill depth | Irregular cavities and gaps |
| Closed-cell spray foam | $1.50 to $4.50, professionally applied | High per inch | Humid or flood-prone areas |
| Rigid foam board (XPS) | $0.60 to $0.90 | R-10 typical | High-moisture, pest-resistant needs |
Figures pulled from DIY Dollar Sense’s 2026 cost breakdown.
Fiberglass Batt Insulation
This is what most flips and most repairs end up using, for the obvious reason that it’s the cheapest thing per square foot. It comes rolled or pre-cut, fits between the floor joists, and gets held in place with netting, wire, or the belly wrap itself.
Owens Corning PINK Next Gen R-19 batts are one of the most common products in this application, priced around $0.30 to $1.00 per square foot depending on thickness and retailer (DIY Dollar Sense, 2026).
Mineral wool batts run higher, roughly $1.40 to $2.50 per square foot. They resist moisture better and won’t sag over time the way fiberglass does in a damp crawl space, which in a wet lot is worth the difference.
Blown-In Cellulose Insulation
Framing under a mobile home is rarely square, and that’s where cellulose earns its keep. It fills the irregular gaps and odd cavities a batt can’t cover cleanly.
No published per-square-foot benchmark exists specifically for underbelly application, so contractor quotes vary more here than they do with batt or foam.
It’s made from recycled paper fiber, treated for fire resistance, and blown into place rather than hand-fitted. Better at filling gaps than batts. Worse at resisting moisture than foam.
Reasonable middle option when the joist bay geometry is all over the place.
Spray Foam Insulation
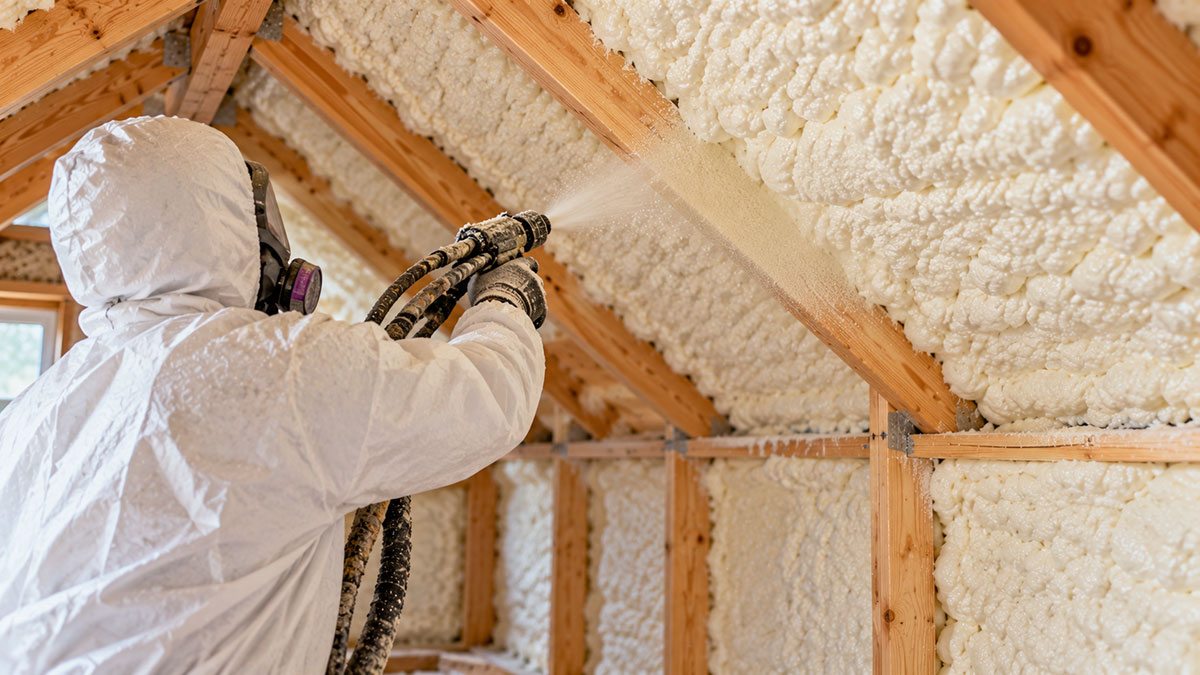
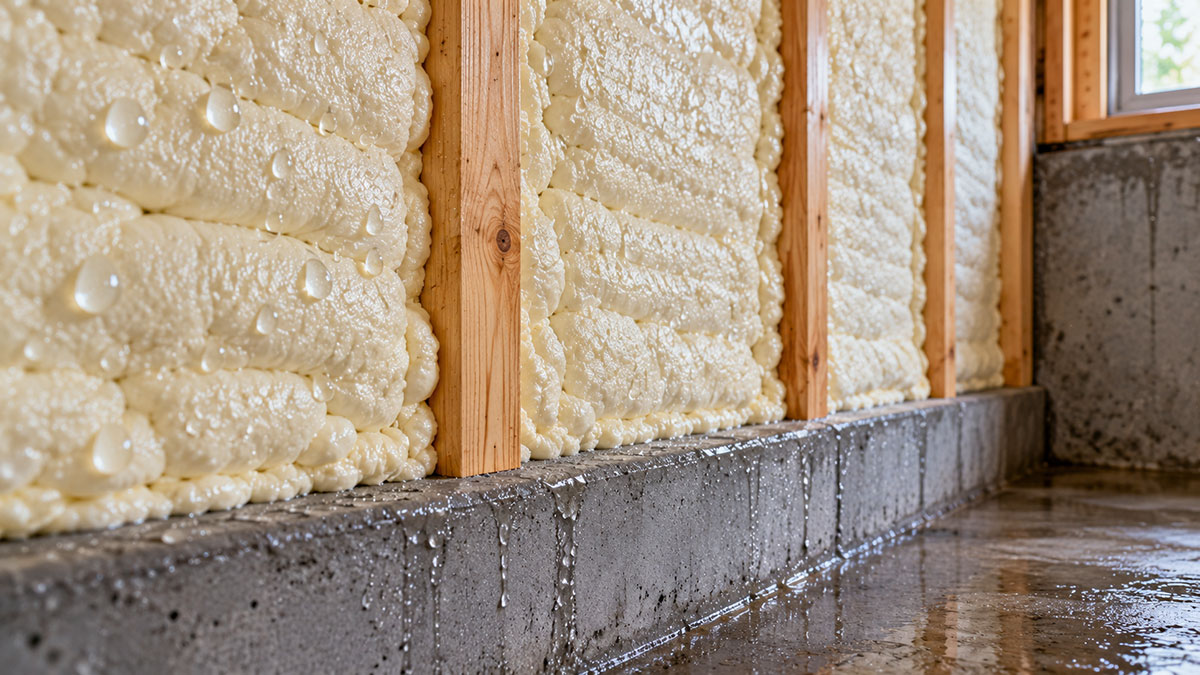
Closed-cell spray foam bonds directly to the joists and acts as its own vapor barrier, which is why it performs best in humid climates and on flood-prone lots.
A full underbelly job with closed-cell foam runs $4,000 to $8,000 professionally applied, well above batt or board (DIY Dollar Sense, 2026).
That premium buys real durability. Spray foam won’t sag, won’t absorb standing water the way fiberglass does, and gives pests almost nothing to nest in.
It’s rarely a DIY material. The rig and training needed to apply it correctly push most homeowners toward a contractor even when they handled everything else on the project themselves.
Rigid Foam Board Insulation
Rigid foam board insulation, usually XPS, runs about $0.60 to $0.90 per square foot and delivers roughly R-10 in a 2-inch panel. Good choice if moisture is your problem. Bad choice if the budget is tight.
It resists water better than fiberglass and gives pests fewer places to burrow, which matters in a space that fills with rodents the moment the belly wrap fails once.
Installation takes longer than rolling out batts. Boards need cutting and fitting around ductwork, plumbing runs, and support piers, and that adds hours.
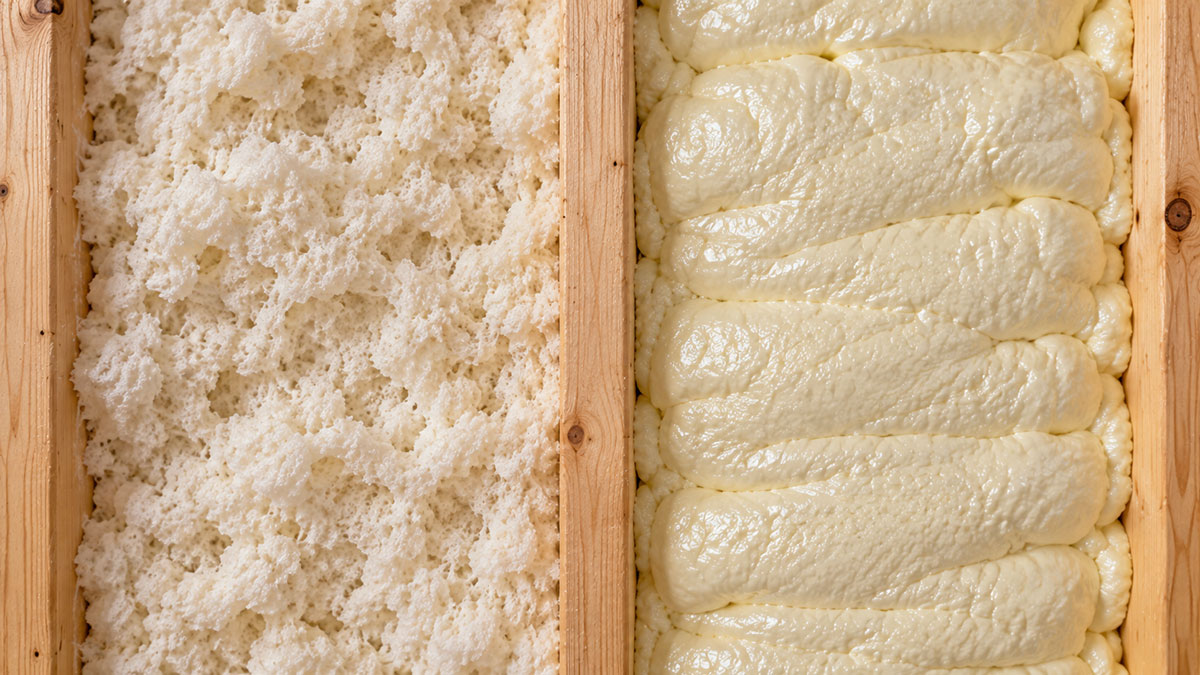
Stacked against each other, fiberglass batt is the cheapest and fastest to install but sags once it gets wet. Blown-in cellulose fills gaps well, though its moisture resistance is weaker and there’s no fixed price benchmark to check a quote against. Spray foam gives the best durability and moisture protection at the highest cost, and almost nobody does it themselves. Rigid foam board sits mid-range on price with strong moisture resistance, just slower to get in place.
Cost to Replace the Belly Wrap or Bottom Board
Replacing just the belly wrap, leaving the insulation behind it alone, costs less than a full underbelly job. Nothing gets removed and nothing gets hauled away.
A single 100-foot roll of polyethylene belly wrap runs around $250, plus roughly $86 for seam repair tape on a standard single-wide (DIY Dollar Sense, 2026).
The bottom board does more than hold insulation in place.
It acts as the system’s vapor barrier, keeping ground moisture out of the fiberglass or cellulose above it. Once that barrier tears, water vapor moves freely into the insulation, and what looked like a simple wrap repair turns into a full replacement the minute someone opens it up and finds soaked, compressed material.
Small tears with dry insulation behind them get a patch. Moisture, mold, or rodent damage means the whole section goes.
If you have any suspicion of water damage, don’t just patch the fabric. Open it, check what’s behind it, and replace anything wet or compressed before sealing it back up.
Additional Costs That Can Increase the Total Price
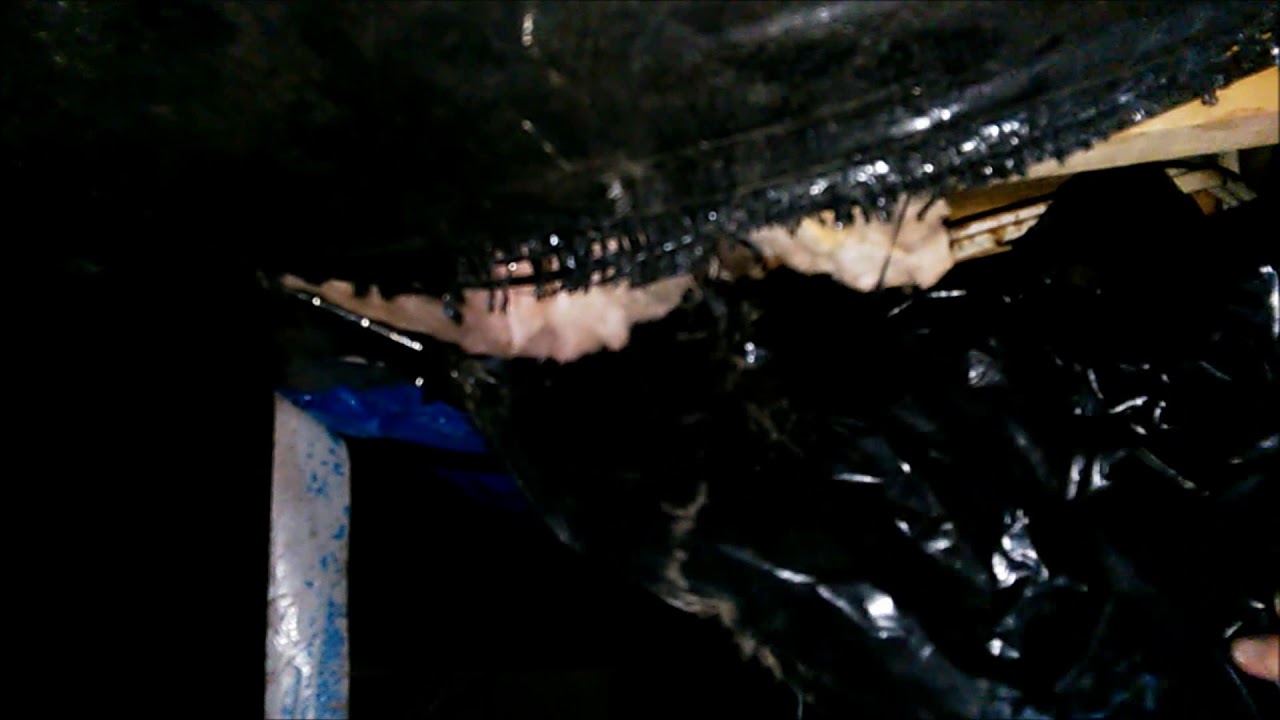
Rodent exclusion, mold cleanup, and subfloor repair routinely add more to a project than the insulation itself. Skipping them just delays the same bill.
Rodent exclusion runs $200 to $600 on its own, according to HomeAdvisor, before any insulation replacement even starts. Crawl space mold cleanup adds another $500 to $2,000 depending on how far it’s spread, according to Angi.
| Issue | What Drives the Cost | Typical Range |
|---|---|---|
| Rodent exclusion | Entry points, nesting extent | $200 to $600 |
| Mold cleanup | Square footage affected, moisture source | $500 to $2,000 |
| Ductwork repair | Length of damaged run, accessibility | No fixed national figure |
| Subfloor or joist repair | Extent of rot, structural load | No fixed national figure |
Koala Insulation, a national insulation franchise, documented a similar pattern in a Flower Mound, Texas attic cleanup, where years of rodent damage left the existing insulation impossible to salvage. Full replacement, not a spot repair.
That’s the pattern worth budgeting for before a contractor ever shows up.
Every extra dollar spent fixing these problems still buys back the core benefits of home insulation, a drier structure and lower bills, rather than a patched-over symptom.
DIY vs Professional Insulation Replacement Cost

DIY installation cuts the total roughly in half compared to hiring a contractor for the same underbelly scope, according to DIY Dollar Sense (2026).
That gap is almost entirely labor. The materials cost the same regardless of who’s holding the staple gun.
What the DIY route asks of you is worth being honest about. You’ll be crawling in a tight, often muddy space for several hours at a stretch. You’ll cut and fit batts around pipes, ducts, and support piers, usually working above your own face. And loose fiberglass fibers irritate skin and lungs on contact, so gear matters.
Five minutes reading up on whether fiberglass insulation is safe to handle without a respirator and gloves is worth it before anyone starts.
Doing it yourself gets you the lowest total cost, no scheduling wait, and full say over what goes back in. What you give up is a workmanship warranty, and it’s genuinely easy to miss rot or a nest you weren’t looking for. A contractor is faster, comes with that warranty, and has a trained eye for damage. You’ll pay the most for it, wait for a slot on the calendar, and have almost no way to verify the work once it’s sealed back up.
How much the payback period for insulation factors into the decision depends on how long you plan to stay. Short hold favors the cheaper route. Long hold makes the warranty worth paying for.
How Contractor Labor Rates and Quotes Affect the Total Cost
Labor is the single biggest swing between two quotes for identical work. Bigger than brand choice, bigger than target R-value.
Insulation installers earn an average of $20.80 an hour nationally, with most falling between $17.31 and $22.84, according to ZipRecruiter (2026).
What lands on a homeowner’s quote runs well above that wage, because the number also covers overhead, insurance, travel time, and margin on top of the crew’s pay.
Beyond that, crawl space height decides how much of the job gets done lying flat, distance from the nearest access panel adds time once the skirting comes off, and any damage the crew finds after opening the belly wrap wasn’t in the original number.
Getting three quotes for the same written scope exposes padding faster than anything else you can do.
A quote that comes in dramatically lower than the other two is usually missing a line item. It’s not a deal.
Steps to Replace Insulation Under a Mobile Home
The order is the same whether one person does it over a weekend or a crew of three handles it in an afternoon. Going out of sequence is the most common way this goes wrong.
- Remove the skirting panels to reach the underbelly
- Cut open and pull back the damaged section of belly wrap
- Pull out and bag the old insulation, checking floor joists for rot along the way
- Inspect and dry the subfloor before anything new goes back in
- Fit new batt insulation between joists, keeping the edges tight against the framing
- Install a fresh vapor barrier over the insulation
- Seal and reattach the belly wrap, then reinstall the skirting
Three things tend to go sideways. People stuff insulation into a bay too shallow to hold it. People skip the moisture check and seal a wet subfloor behind brand new material. And gaps get left around pipe and ductwork penetrations, which quietly undoes a chunk of the work.
Overstuffing a joist bay is the one I’d watch hardest, since compressed insulation loses R-value fast even when the material itself is perfectly fine.
Getting the vapor barrier right matters as much as the insulation choice. The general approach to installing a vapor barrier in a crawl space applies here too, since a mobile home underbelly functions the same way structurally.
When Replacing Mobile Home Underbelly Insulation Does Not Apply
Full replacement isn’t the answer every time insulation looks tired, and treating every case the same way burns money on jobs that needed a patch.
Undamaged fiberglass holds up far longer than most people assume. Aged batts retained an average of 95.5 percent of their labeled R-value after roughly 40 years of service, per research from Home Innovation Research Labs, funded by NAIMA.
Age by itself is not a reason to replace anything.
Cases where the full teardown is the wrong call:
- A small, isolated tear in the belly wrap with dry insulation behind it, which a patch repair fixes
- A home still inside its manufacturer or installer warranty period
- Structural subfloor failure severe enough to need floor replacement first, not just insulation
- A site where crawl space encapsulation solves the real moisture source better than swapping insulation ever could
Older units carry one more wrinkle worth checking before anyone touches the material.
Homes built before the 1980s sometimes used something other than standard cellulose or fiberglass underneath, and knowing how to tell the difference between cellulose and asbestos insulation matters before any DIY removal starts.
Loose-fill material settling and losing depth over time is a real problem too, but it belongs to a different fix. Insulation settlement calls for a top-up, not a full underbelly teardown, and confusing the two means paying for work nobody needed.
FAQ on How Much Does It Cost To Replace Insulation Under A Mobile Home
What Tools and Materials Does the Job Require?
A basic underbelly job needs a utility knife, staple gun or hammer tacker, seam tape, and a respirator for handling fiberglass safely. Materials include batt insulation or rigid foam board, a fresh vapor barrier, and new belly wrap fabric.
How Long Does the Replacement Process Take?
A patch repair takes an hour or two. A full DIY underbelly replacement on a single-wide runs a full day of crawling, cutting, and resealing. A professional crew of two or three usually finishes the same scope in under four hours.
Do You Need a Permit to Replace Mobile Home Insulation?
Most jurisdictions do not require a permit for insulation replacement alone, since it swaps existing material rather than altering the structure. Permits become relevant only when the repair uncovers structural damage that needs floor or joist work.
Does Homeowners Insurance Cover Any Part of This Cost?
Standard homeowners insurance covers insulation damage from a sudden, covered peril like a burst pipe or wind-driven storm damage. It does not cover gradual moisture damage, rodent infestation, or wear from age, which fall on the homeowner.
Can New Insulation Be Installed Over Old Insulation Instead of Removing It?
No. Compressed, wet, or rodent-contaminated insulation loses most of its R-value and contaminates anything installed over it. Underbelly work always starts by pulling the old material out, checking the subfloor, and starting the new layer against clean framing.
How Often Should Mobile Home Underbelly Insulation Be Replaced?
There is no fixed schedule. Undamaged batt insulation can perform for decades without losing meaningful thermal performance. Replacement follows condition, not age: sagging, moisture, rodent damage, or a failed belly wrap are the real triggers, not a calendar date.
What Should You Fix First in How Much Does It Cost To Replace Insulation Under A Mobile Home?
Moisture control comes before the insulation material, every time. New batts installed over an active leak or an unresolved pest problem fail inside one season no matter what you paid for them.
The order that works:
- Fix the belly wrap and vapor barrier first
- Clear rodent activity and dry the subfloor second
- Install new batt or foam insulation last
Skipping rodent exclusion to save $200 to $600 puts the full $1,526 material investment at risk, because reinfestation degrades the new insulation exactly the way it degraded the old batch.
That’s the real cost of working out of order. Not just wasted labor.
A home energy audit once the work is done confirms whether the fix actually closed the gap the old insulation left, instead of guessing from one lower bill.