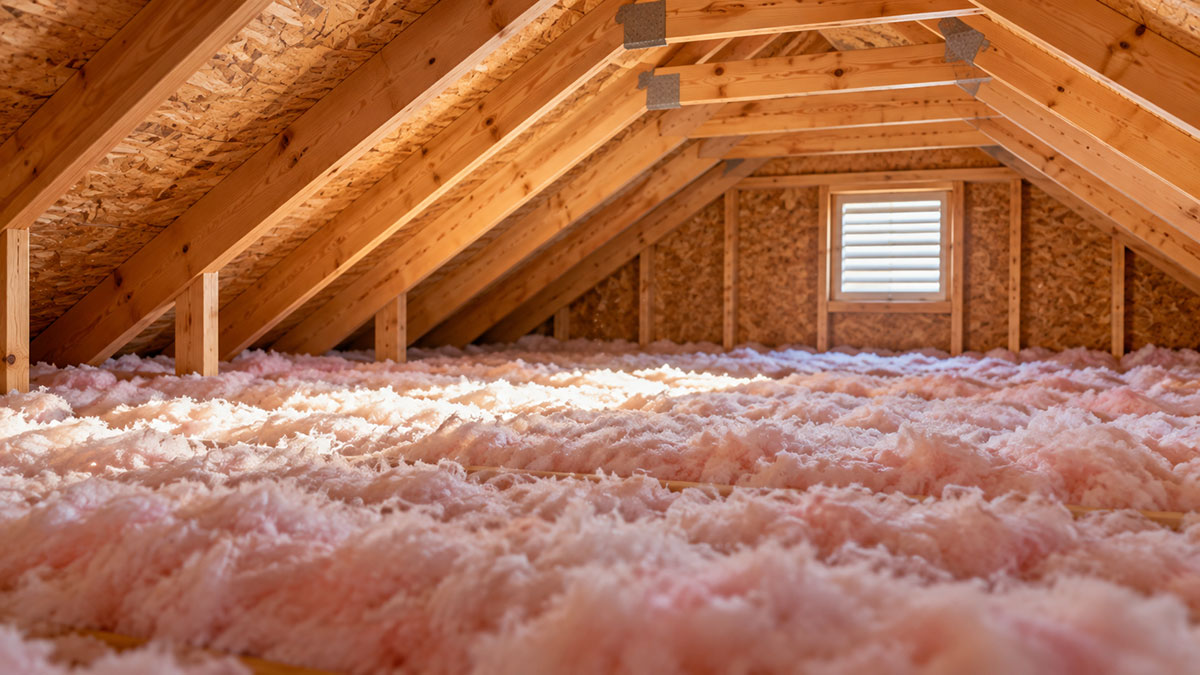
The attic is the biggest source of heat loss in most houses, and it’s usually the easiest place to fix. ENERGY STAR’s 2025 insulation factsheet reports that 9 out of 10 US homes remain under-insulated, so odds are decent that yours is one of them.
Installing insulation in an attic comes down to putting thermal material across the attic floor, or along the roofline, so heat stops passing between the living space and the roof cavity above it. Plenty of homeowners do it themselves. Licensed contractors handle the rest.
Either way, the job gets measured against R-value targets for your climate zone and the ventilation ratio in the International Residential Code.
What Is Attic Insulation Installation?

Attic work falls under home insulation in general, but it deals with a single boundary, the ceiling plane between the living space and the roof cavity.
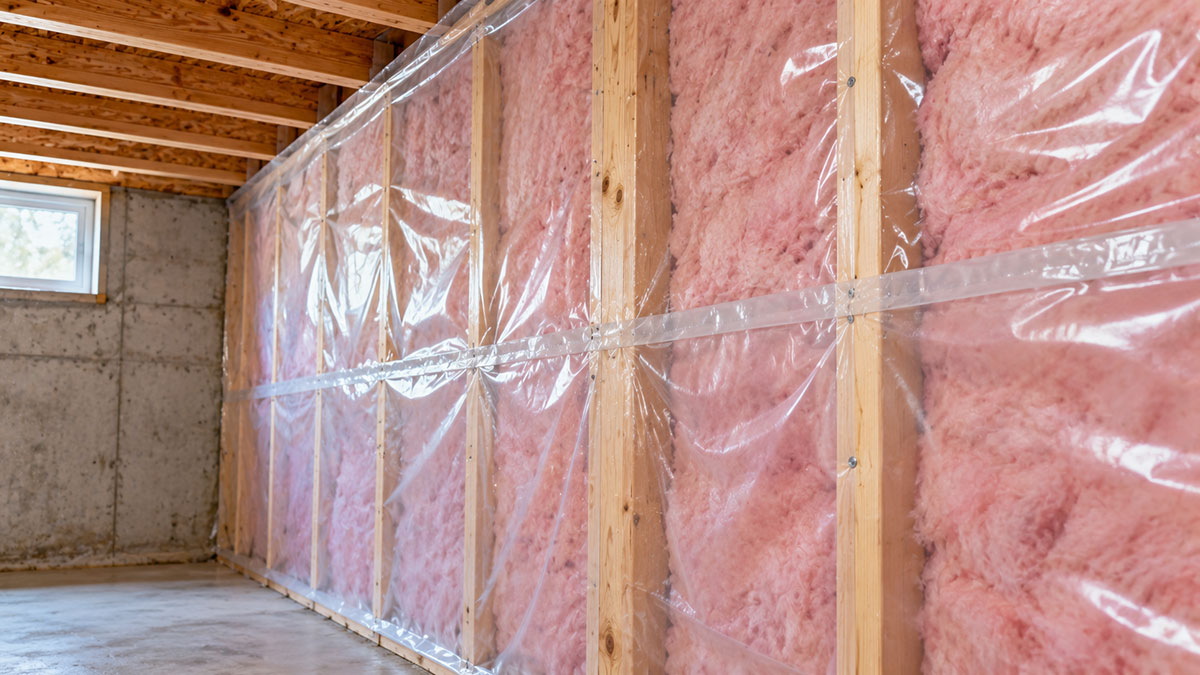
The rest of the house gets its own treatments. Insulating basement walls, for instance, has a different assembly and a very different moisture profile, and you reach it differently.
A complete attic job starts with air sealing gaps and penetrations, before any material goes down. After that you pick a material and hit the target R-value for the climate zone, keep the intake and exhaust ventilation open at the eaves and ridge, and put a vapor barrier on the correct side of the assembly. Skip any of it and the job underperforms, no matter how thick the insulation layer looks.
What R-Value Do You Need for Attic Insulation?
It depends on the climate zone. Minimums run from R-30 in the mildest zones to R-60 in the coldest.
Higher R-values resist heat flow better. The R-value concept works the same way in an attic as anywhere else in the house.
Table R402.1.3 of the 2021 International Energy Conservation Code sets the attic minimums. Zone 1 needs R-30, and Zones 2 and 3 need R-49. Zones 4 through 8 need R-60, which covers most of the continental United States. A full-height, uncompressed R-49 layer that extends over the top plate at the eaves can satisfy the R-60 requirement where the code’s raised-heel-truss exception applies.
| Climate Zone | IECC 2021 Attic Minimum | Example States |
|---|---|---|
| Zone 1 | R-30 | FL, HI |
| Zones 2 and 3 | R-49 | TX, AZ, GA, southern CA |
| Zones 4 through 8 | R-60 | NY, OH, MN, ME, AK |
ENERGY STAR’s own recommended levels track these code minimums closely, topping out at R-60 for the coldest zones on new construction.
Falling short costs real money. The Department of Energy reports that an under-insulated home can waste about 20% of the energy it uses for heating and cooling.
Homes built before the 2009 IECC often sit at R-19 to R-30, well under current targets. You can check yours without measuring anything. If the attic floor joists are visible above the insulation, the level is too low.
What Are the Types of Attic Insulation Material?
Most attics end up with fiberglass batts or blown-in cellulose. Spray foam and mineral wool cover the situations those two handle badly. Each one has its own price and R-value per inch, and some are far harder to install than others. The attic insulation types breakdown has the full side-by-side, including pros, cons and climate fit.
| Material | R-Value Per Inch | Installed Cost | Best Use Case |
|---|---|---|---|
| Fiberglass batt | R-3.1 to R-3.4 | $0.75 to $2.60 per sq ft | Open, accessible attic floors |
| Blown-in cellulose | R-3.2 to R-3.8 | $1.00 to $2.50 per sq ft | Irregular joist bays, top-ups |
| Closed-cell spray foam | R-6.0 to R-7.0 | $3.00 to $6.00 per sq ft | Roofline decks, tight cavities |
| Mineral wool | R-3.0 to R-3.7 | $1.50 to $3.00 per sq ft | Fire-prone or moisture-prone attics |
Values reflect Department of Energy insulation fact sheets and manufacturer specifications.
Fiberglass Batt Insulation

Batts are the default for a reason. They’re the cheapest option here and every home improvement store stocks them, so all you really need is a utility knife and a respirator. You roll the pre-cut blankets out between the joists by hand.
Where they fall down is obstructions. Wiring and plumbing stacks leave gaps a rigid batt can’t fill, and can lights do the same.
Blown-In Cellulose Insulation
Cellulose is made from recycled, fire-treated paper fiber, and you blow it into the attic with a rental machine. It conforms around wiring and framing better than batts do, and it’s the material most big-box blower rentals are built for.
The catch with cellulose insulation is that it settles about 20% after installation, so installers overfill to the target depth from the start.
Spray Foam Insulation
Spray foam has the highest R-value per inch of any material here, so it reaches code targets in far less depth.
You pay for that. Materials-only pricing runs three to five times higher than fiberglass or cellulose for equivalent coverage. It earns that money on rooflines and rim joists, and in attics where HVAC ductwork needs a conditioned, sealed cavity.
This isn’t a DIY material. Application takes a heated spray rig and respirator protection, and a licensed applicator to run it.
Mineral Wool Insulation
Rock and slag wool won’t support combustion, which counts for something in attics near a chimney or flue penetration. The density also dampens sound better than fiberglass or cellulose do.
R-value per inch lands close to fiberglass, slightly higher if anything. It costs more than fiberglass batt, but it handles moisture without losing R-value. Rockwool is the best-known brand, sold in batt form sized for standard joist spacing.
How Much Does Attic Insulation Installation Cost?
A typical 1,000 square foot attic runs $800 to $7,000 installed, and material choice accounts for almost all of that spread. Labor and access conditions move the number around within each material’s range, but they rarely push it into another one.
The cost per square foot for insulation varies more by material than by region, though very humid or very cold climates can add 10% to 20% on top.
Blown-in cellulose comes in at $1,200 to $3,500 (InsulationRValues.com, 2026) for a 1,000 sq ft attic, and blown-in fiberglass at $1,200 to $2,800 (InsulationRValues.com, 2026). Fiberglass batts are the cheapest if you install them yourself, at $800 to $2,000 (InsulationRValues.com, 2026). Closed-cell spray foam sits well above everything else at $3,000 to $7,000 (InsulationRValues.com, 2026).
DIY blown-in cuts the materials cost to roughly $600 to $1,100, since Home Depot and Lowe’s both rent the blowing machine free with a minimum bag purchase.
Removing old insulation first adds $1.00 to $2.00 per square foot, and more if it’s wet or contaminated.
Spray foam’s premium buys air sealing and R-value in a single step. The pricing gets its own breakdown in how much spray foam insulation costs by thickness and cavity type.
Should You Insulate the Attic Floor or the Roofline?
For a vented, unconditioned attic that only holds storage, insulate the floor. That’s the standard choice.
Roofline insulation makes sense in a narrower set of cases. Maybe the attic holds HVAC equipment or ductwork, or the space is going to become conditioned living area, and then you want the insulation up against the roof instead.
Floor insulation costs less per square foot than roofline work, and it plays well with standard soffit and ridge ventilation, since the attic stays vented and unconditioned.
Roofline work brings ducts and equipment inside the conditioned envelope. It usually means spray foam against the roof deck, and in partially finished attics it often runs down to the knee walls too.
Most retrofits choose the floor. It’s cheaper, and it doesn’t touch the roof assembly or risk a shingle warranty tied to deck ventilation.
Do You Need to Air Seal the Attic Before Insulating?

Yes. Air sealing always comes before insulation goes down, never after.
Air sealing closes the gaps that let conditioned air escape into the attic, and it has to happen before the insulation gets fluffed on top. Skip it and the insulation just sits on top of moving air, which cuts its real-world performance well below the rated R-value.
A blower door test can confirm whether the sealing worked, by measuring how much air the house exchanges under pressure.
Start with the top plates where interior walls meet the ceiling, then work through plumbing stacks and electrical wiring penetrations. Recessed lighting housings not rated for insulation contact and the attic hatch or pull-down stair frame need attention too.
Caulk is fine for small gaps, and anything bigger than a quarter inch gets canned spray foam.
ENERGY STAR estimates that air sealing combined with insulation upgrades saves homeowners an average of 15% on heating and cooling costs, or about 11% on total energy bills.
The vapor barrier goes on the warm-in-winter side of the insulation. In most US climates that’s the living space side, so it faces down and away from the roof deck.
How Much Attic Ventilation Do You Need?
Most attics need 1 square foot of net free vent area for every 150 square feet of attic floor, the standard set by IRC Section R806.2.
The ratio can drop to 1:300, but only when both of the code’s conditions are met. In Climate Zones 6, 7 and 8, a Class I or II vapor retarder has to be installed on the warm-in-winter side of the ceiling. And 40 to 50 percent of the vent area has to sit in the upper portion of the attic near the ridge, with the balance in the lower third near the eaves.
Roughly half of the required area goes low, as intake through soffit vents. The other half goes high, as exhaust through a ridge vent or gable vents.
Baffles matter here (most people forget them until the soffits are already buried). They hold a one-inch air channel open between the insulation and the roof deck, so soffit intake doesn’t get blocked when insulation is blown in.
A 1,500 square foot attic at the 1:150 ratio needs 10 square feet of net free vent area, split between intake and exhaust.
Poor ventilation paired with heat leaking through the ceiling plane is a leading cause of ice dams along the eaves in snow climates.
Skip the baffles and the soffit vents choke, even with a correctly sized ridge vent. That single mistake causes most callback complaints on blown-in jobs.
What Tools and Safety Equipment Do You Need?

A basic batt job needs a utility knife, a tape measure, a staple gun and full-body coverage.
Blown-in work adds a rented insulation blower and a helper to feed it.
| Equipment | Purpose | Required For |
|---|---|---|
| N95 or P100 respirator | Blocks fiberglass and cellulose particulates | All material types |
| Insulation blower | Feeds loose-fill material through a hose | Blown-in cellulose, blown fiberglass |
| Attic decking or plywood | Distributes weight across ceiling joists | Any work above open joists |
| Headlamp and knee pads | Hands-free light, joint protection | Low-clearance attics |
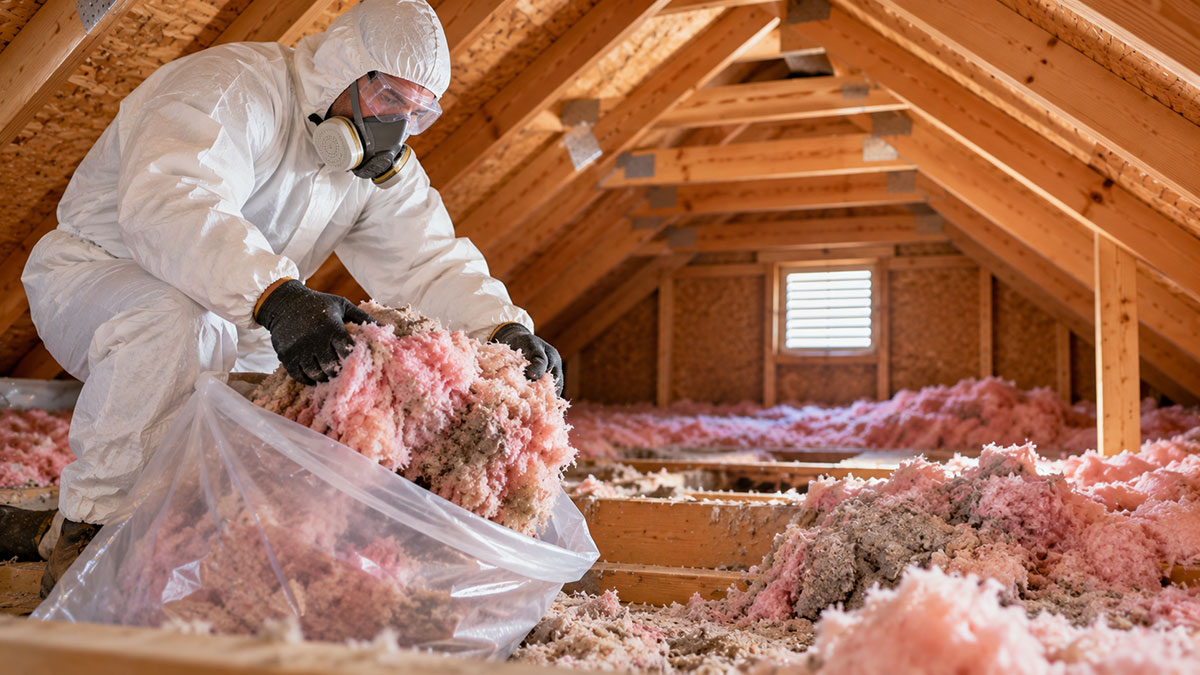
Wear long sleeves and gloves every time, since fiberglass fibers irritate skin on contact. Use sealed goggles rather than open safety glasses when loose-fill dust is in the air, and get a properly fitted respirator rated for particulates. A paper dust mask doesn’t count.
Fiberglass fiber exposure causes itching and short-term airway irritation on contact.
Whether fiberglass insulation is safe to handle really comes down to gloves and a respirator. How fast you finish the job has little to do with it.
OSHA requires fall protection once a worker is 6 feet or more above a lower level in residential construction, a threshold that covers attic work over open joists.
Most attic floors won’t support body weight between joists. Stepping onto drywall instead of framing is one of the most common ways an attic job goes wrong.
M and similar manufacturers rate their respirator cartridges specifically for fiberglass and cellulose dust, which goes beyond general nuisance particulates.
How to Install Attic Insulation Step by Step
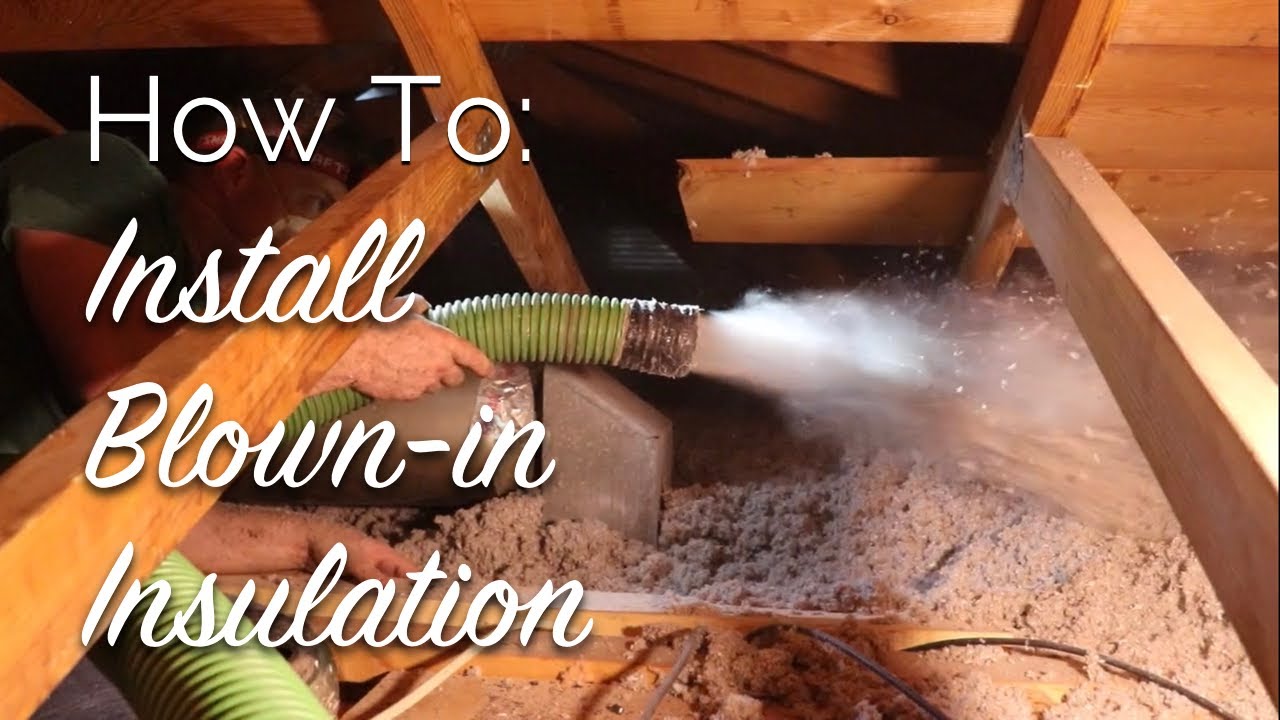
The order doesn’t change with the material. Seal first, then measure and insulate, and check your work at the end.
- Air seal every penetration, gap and top plate first
- Install baffles at the eaves to protect the soffit vent channel
- Measure the attic floor and calculate the material needed for the target R-value
- Lay batts perpendicular to the joists, or blow loose-fill to a marked depth
- Work around wiring, recessed lights and duct penetrations without compressing the material
- Place the vapor barrier on the correct side of the assembly, where the design calls for one
- Check finished depth against the target R-value with a ruler at several points
Work out how much insulation your attic needs before you buy anything.
With batts, cut pieces to fit tightly around obstructions instead of forcing a full-width batt into a narrow gap.
Compressed fiberglass loses R-value fast. A 6-inch batt jammed into a 3-inch gap performs closer to a 3-inch batt.
For more detail on cutting and stapling technique, the fiberglass installation walkthrough goes further than a general overview can.
A DIY blown-in job usually takes 4 to 8 hours with a helper, according to InsulationRValues.com’s 2026 project data.
Spray foam and dense-pack cellulose don’t fit this sequence. Both need a licensed applicator’s equipment, so there’s no homeowner step list for them.
What Building Codes Apply to Attic Insulation?
The International Energy Conservation Code sets the R-value requirements, and the International Residential Code covers ventilation. Between them they govern most attic work.
Local jurisdictions adopt these codes with a lag. Check with the local building department before assuming the newest edition applies.
| Code or Standard | Governs | Applies To |
|---|---|---|
| IECC 2021, Table R402.1.3 | Minimum attic R-value by zone | Most US jurisdictions |
| IRC 2021, Section R806 | Attic ventilation ratio | Most US jurisdictions |
| California Title 24 | State-specific energy performance | California only |
California runs its own standard instead of a straight IECC adoption. Title 24 sets whole-building energy performance targets, and attic R-value is one input among several.
The California Energy Commission updates Title 24 on its own cycle, separate from the three-year IECC update schedule most other states follow.
Most jurisdictions require a permit for attic insulation above a minimum quantity, or when air sealing touches electrical or mechanical work.
A final inspection often checks depth markers and baffle placement, not just the material invoice.
Unpermitted work can complicate a home sale, and it may not be covered by a homeowner’s insurance claim tied to the attic.
When Attic Insulation Fails or Does Not Apply
Insulation alone won’t fix every attic problem, and in some cases it makes an existing one worse.
Hold off if there are active roof leaks or visible water staining on the decking, or mold on the framing or the underside of the roof deck. The same goes for suspected asbestos-contaminated vermiculite insulation already in place and for rodent or pest activity in the current layer.
Cover any of these with new material and the underlying problem keeps running, hidden under a fresh layer.
Older loose-fill, pebble-like insulation needs a direct look before anything gets added on top.
Telling cellulose apart from asbestos-contaminated vermiculite is the first step. The two can look similar at a glance, but they need completely different handling.
It’s more common than most people expect. As many as 35 million US homes may still contain vermiculite attic insulation that could be contaminated with asbestos from the former Libby, Montana mine, according to widely cited estimates drawn from EPA and industry records.
Pest activity is the other frequent blocker. Old droppings, nesting material or active tunnels mean the insulation needs removal and the entry points need sealing before new material goes in, not alongside it.
A guide on clearing mice from attic insulation covers trapping and exclusion methods that come before the insulation step.
Compressed insulation is a quieter failure mode. Stored boxes and regular foot traffic flatten it over time, and a low roofline can do the same. That cuts the effective R-value well below the rated number, even though the insulation is technically still there.
Ventilation problems compound all of this. An attic that fails on airflow will keep failing on moisture control no matter how much insulation gets added on top.
Should You Hire a Contractor or Install Attic Insulation Yourself?
DIY works fine for batts or blown-in fiberglass on an open, accessible attic floor. Spray foam and dense-pack work belong to a pro, and so does any job that needs code inspection sign-off.
Doing it yourself gets you the lowest total cost, and most big-box stores rent the blower for free, so you can work whenever you like. The downside is that there’s no warranty on workmanship. It’s also physically demanding, and without any way to test the result it’s easy to under-seal or under-fill.
A contractor brings BPI-trained crews and a warranty on labor, plus access to spray foam and dense-pack methods DIY can’t reach. The trade-off is the highest total cost and scheduling that depends on the contractor’s availability. Quality still varies by crew, warranty or not.
Spray foam is pro territory no matter how handy you are. Whether spray foam insulation is worth it usually depends on whether the attic holds ductwork or living space.
The federal insulation tax credit that used to offset 30% of material costs ended for any project placed in service after December 31, 2025, under the One Big Beautiful Bill Act.
State and utility rebates are a separate track, and many remain active. Check with the local utility before ruling out assistance entirely.
Mass Save in Massachusetts and similar state-run programs elsewhere still fund weatherization work, independent of what happened to the federal credit.
BPI-certified crews follow a house-as-a-system approach, testing air leakage and ventilation alongside the insulation itself rather than treating the attic as an isolated job.
FAQ on How To Install Insulation In Attic
What mistakes ruin an attic insulation job?
Skipping air sealing is the big one. Burying soffit vents without baffles and squeezing batts into narrow gaps are close behind.
Recessed lights not rated for insulation contact and an unsealed attic hatch cut the installed R-value below what the invoice promises.
How do you know if your attic already has enough insulation?
Measure depth with a tape measure at three or four points, not just near the hatch.
Compare that figure against the target depth for your zone and material. Flattened or discolored insulation needs replacing, not topping up.
Can you insulate over old insulation?
Yes, in most cases. Old insulation has to be dry and free of mold, and it can’t be compressed beyond recognition.
The new layer should match or exceed its R-value. Skip a second vapor barrier, and don’t bury anything damaged or pest-contaminated.
How long does attic insulation last?
Fiberglass and mineral wool can hold their rated R-value for 80 to 100 years if they stay dry and undisturbed. Cellulose is shorter-lived, typically performing well for 20 to 30 years before settling cuts into its effective R-value.
Moisture and pests shorten that lifespan a lot, and so does compression, long before the material physically wears out.
Are there rebates or tax credits for attic insulation?
The federal Weatherization Assistance Program funds insulation for income-eligible households, with limits that vary by state.
Electric and gas utilities commonly run separate rebate programs through an online finder tool, independent of federal tax policy changes.
Does blown-in insulation take less time to install than batt?
For a full attic floor, yes. A rented blower feeds loose-fill material continuously, while batts require cutting and fitting piece by piece around every joist and obstruction.
Batts still win on small, simple patch jobs.
Does attic insulation need a vapor barrier in every climate?
No. Cold climates need one on the warm-in-winter side to stop moisture migration into the insulation.
Hot, humid climates often skip it or reverse the placement, since a poorly placed barrier traps moisture instead of blocking it.
Can spray foam be used in every attic?
No. Building codes generally prohibit insulation, including spray foam, from enveloping active knob-and-tube wiring, since trapping the heat creates a fire risk. The wiring typically needs to be assessed and often replaced first.
It’s also rarely cost-justified on an open attic floor, where batts or blown-in material handle the job just as well.
What Should You Fix First When Attic Insulation Installation Underperforms?
When an attic job underperforms, the problem is usually at the air boundary or the vent channel and not in the insulation layer itself. The fix starts with sealing penetrations and clearing baffles, before adding any more material.
Order matters here, or the new material is wasted. Clear the soffit and ridge vents first, confirm the air sealing at penetrations next, and add depth only once both check out.
Sealing first makes the invoice a little higher, but the insulation actually reaches its rated R-value. The depth math backs that up. R-60 divided by fiberglass’s R-3.1 per inch comes out close to 19 inches in the coldest zones, and that’s a lot of material to waste on a leaky attic.
For how each material performs beyond the attic floor, in walls and crawl spaces, the types of insulation materials guide covers it.